Bulkhead Leverage
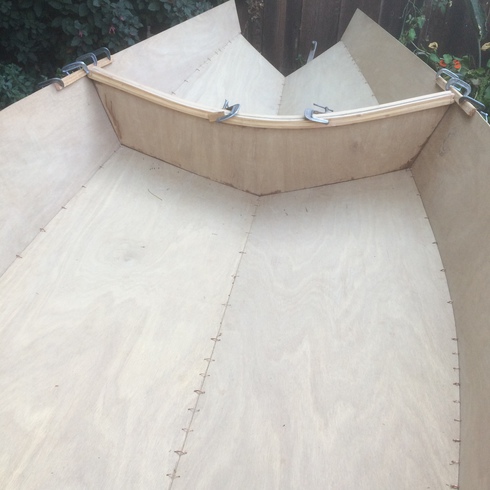
Side panels are stitched in. It is now time to put in the bulkheads. Here’s what that looks like:
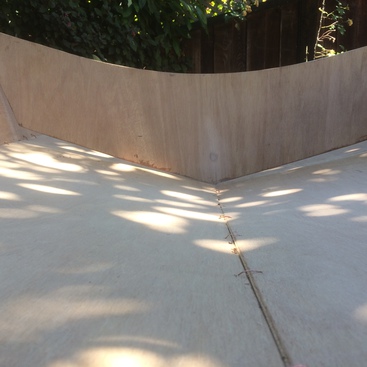
The goal is to get those bottom hull panels flush with the bottom edges of the bulkhead. See the gaps to the left and right of the center point? Good luck with that.
The plans call for jamming the bulkhead down until the bulkhead is close to flush, with gaps within 3/16” or so. Jamming didn’t work real well for me. It may be assumed hull panels form a deeper V so that jamming works to bend the panels around the bulkhead. Maybe. At any rate, with the keel joint I beveled in, the panels lie in exactly the final angle of V we want. Various experiments to get more bending going on while jumping up and down on the bulkhead (or having an assistant perform this) were entertaining but mostly fruitless.
So if you ever need to jam a bulkhead, here’s a nice trick I worked out for getting the bulkheads where they belong.
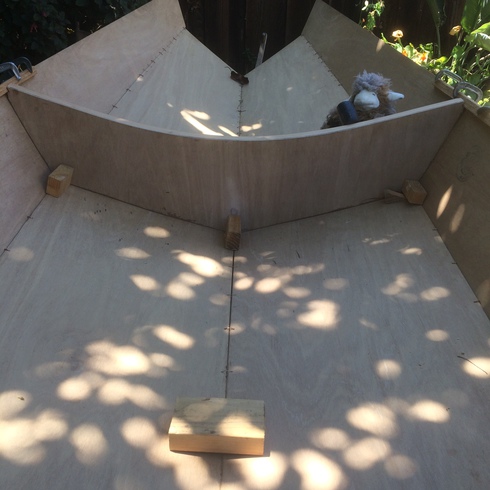
I cut out small lengths of the gunwale stock (which could be salvaged for the bow transom later). Clamp them in on the top of the hull sheer to the fore of the desired position. Work the bulkhead in angled top edge toward the bow so that the athwartship beam notch fits under the gunwale, then voila! lever them into place by pressing the stock down on the aft side and clamp it in place:
now it’s levered in, but at a funky angle toward the bow. At this point spacer blocks (anchored off neighboring wire stitches) are put in to hold the bottom edge exactly at its mark. Then a rubber mallet and either a little finessing or a lot of smacking brings the bulkhead back to be upright.
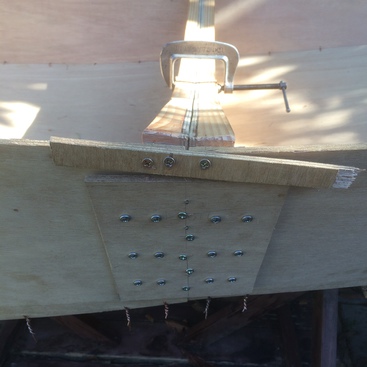
Nails are now inserted along the butt joint seams to hold the line:

and the other bulkhead is put into place and clamped,
and then for good measure and holding, screwed in at the athwarthship beams and along the endgrain: